
UC Chemical Inventory
All laboratories with hazardous materials are required to have an up-to-date chemical inventory. This includes regularly adding new chemicals as they enter the lab, deleting chemicals as they are used up and reconciling (comparing actual inventory to electronic inventory) annually. Below are guides and resources to help you maintain your chemical inventory.
- UC Chemicals
- Convert your chemical inventory to UC Chemicals: UC Chemicals Video Guides
- Using and maintaining your chemical inventory:
- Reconciling your chemical inventory (required annually):
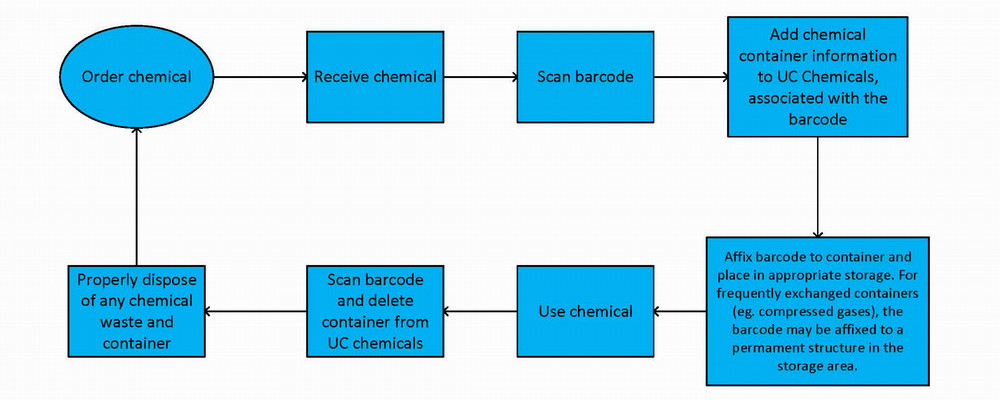
Chemical Inventory Management Process
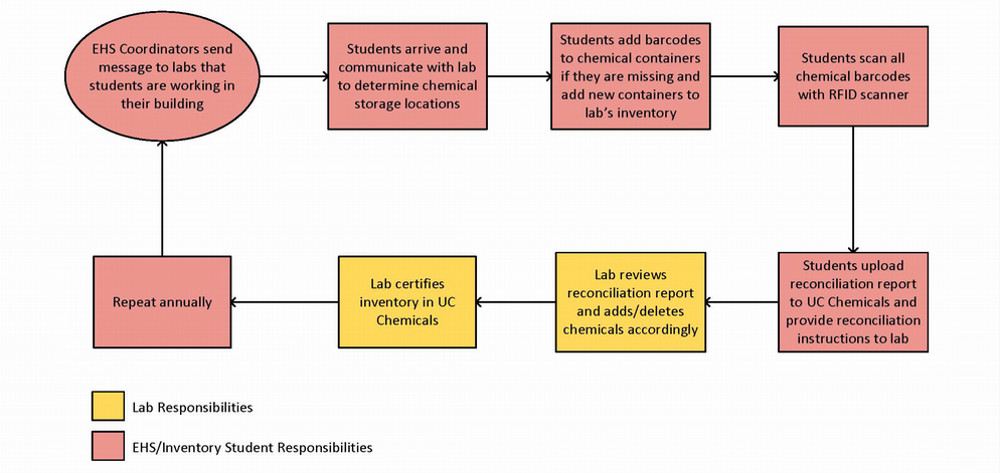
Chemical Inventory Reconciliation Process
| What to include in your inventory | What not to include |
|---|---|
| All chemicals and chemical products (except those listed to the right). | Retail products used and stored in amounts and frequencies typical to ordinary household usage. |
| All compressed and liquefied gases. | Etiologic agents (bacteria, viruses, select agents, and toxins). |
| Lubricants, fuels, and oils (motor oil, gasoline, diesel, vacuum pump oil). | Biological culture media, agar, serum proteins, albumin. |
| Aerosol lubricants. | Enzyme preparations. |
| Paints including spray-paints. | Non-hazardous buffers. |
| Pesticides and biocides. | Radioactive materials (unless mixed with hazardous chemicals). |
| Pre-packed test kits that contain hazardous materials. | Commercially packaged drugs in solid, final form (tablets, pills) for direct administration. |
| Commercial food, drugs, and cosmetics, covered by the FDA. | |
| Materials to be used within 1-2 days (“working solutions”). | |
| Hazardous waste. |
Chemicals need to be deleted when they are used up and added to the inventory as they enter the lab. The reconciliation of chemicals (comparing actual containers to the electronic inventories) is required to completed annually.
From the Chemicals homepage, select Inventory Summary
Adding a sublocation:
Select the + button to the right of the Sublocations
Select the Building Name
Select the Room Number
Enter in a Sublocation Name
Barcode - The barcode can be entered manually or scanned at a later time with a mobile device Temperature and Pressure default to Ambient and can be edited as needed. Mark the sublocation as private to prevent sharing
Select the appropriate hazard pictograms associated with the chemicals stored in the sublocation
Select the Save button
Editing a sublocation:
Select the ellipsis (three dots) menu icon to the right of the sublocation you wish to edit
Select Edit
Edit information as needed
Select the Save button
Removing a sublocation:
Select the ellipsis (three dots) menu icon to the right of the sublocation you wish to remove
Select Remove
Select the Save button
Note: Before a sublocation can be deleted, the PI, delegate or inventory manager will be prompted to move the associated containers to a different sublocation.
Note: Only PIs/Responsible Person can add, edit, and remove sublocations.
From the Chemicals home page, select Search Chemicals
Search for the chemical that you would like to remove and select the chemical name to access the details page
Scroll to the Containers section and select the vertical ellipsis menu icon next to the container that you want to delete and select “Remove”
The container will be added to the ‘Containers to Delete’ queue
Continue adding containers into the queue using the same process
At any time, you can clear your queue by selecting Cancel at the bottom of the queue
Once you have finished adding containers to the queue, select Delete to remove
From the Chemicals homepage, select Add to Inventory
Search chemicals by CAS number, name, GHS or product number
Select the chemical
Select the round + button to the right of the "Containers" section
Enter the container information
Select Save
UC Chemicals, the inventory system, will not properly interact with your chemical containers if they are not barcoded. Barcoding provides a unique identifier to each container within your laboratory. Barcoding your containers allows inventory reconciliation to be done with a scanner in a facile and easy manner.
Barcoding your sublocations provides each sublocation with a unique identifier and allows lab members to easily and quickly locate their chemicals and sublocations. Sublocations must be barcoded to reconcile your inventory using QR barcodes.
RFID barcodes are double-sided stickers that are intended to ‘stick out’ like a flag from the chemical container. This is due to the characteristic of the antenna and how the signal is affected by the type of material in the container. Sticking the barcode out from the bottle reduces variation/interference and increases the accuracy of scanning the RFID barcodes. This also decreases the size of the barcode allowing it to be attached to small vials without any issues.
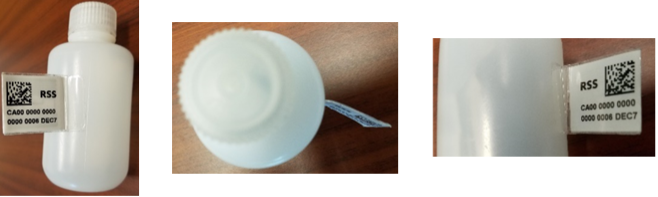
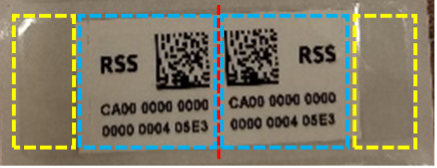
The image below shows how to fold the RFID tag appropriately, the tag must be folded in the half along the red line, the two blue boxes should be stuck to each other, and the two orange boxes should be stuck onto the container. A top view and a side view of an appropriately placed label are also shown below. Ensure that the sticker is completely attached to itself and the bottle with no free space.
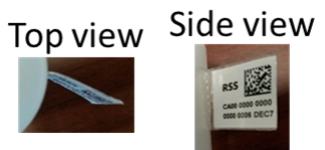
It is important that the sticker is placed properly, incorrect placements are shown below. If the sticker is not placed properly it will fall off.
Do not place the stickers on chemical containers as shown below.

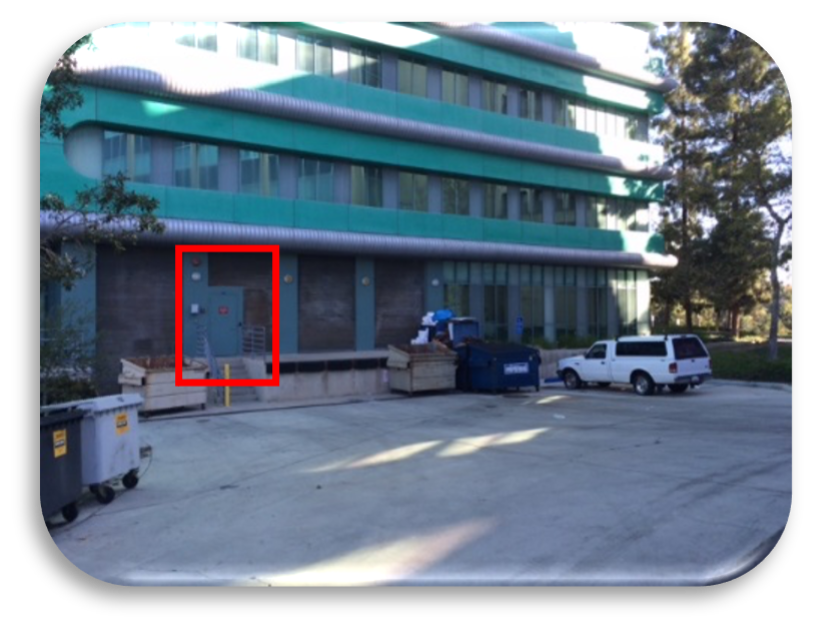
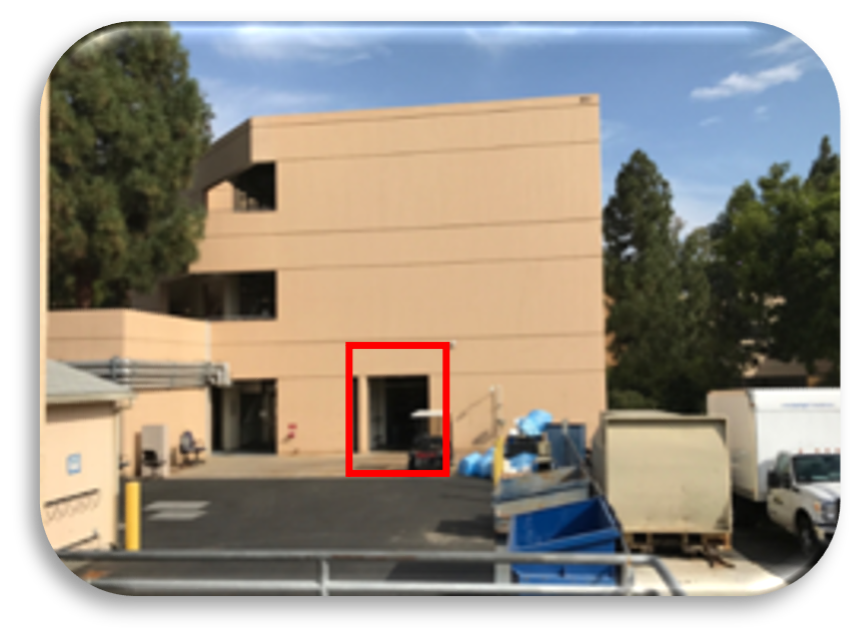
Self-Service Chemical Inventory Barcode Pickup Locations
Chemical inventory barcodes are available in 5 locations on campus. Please only take what you need.
- Engineering Tower: Loading dock - near elevator
- McGaugh Hall: Loading dock - inside and on the right
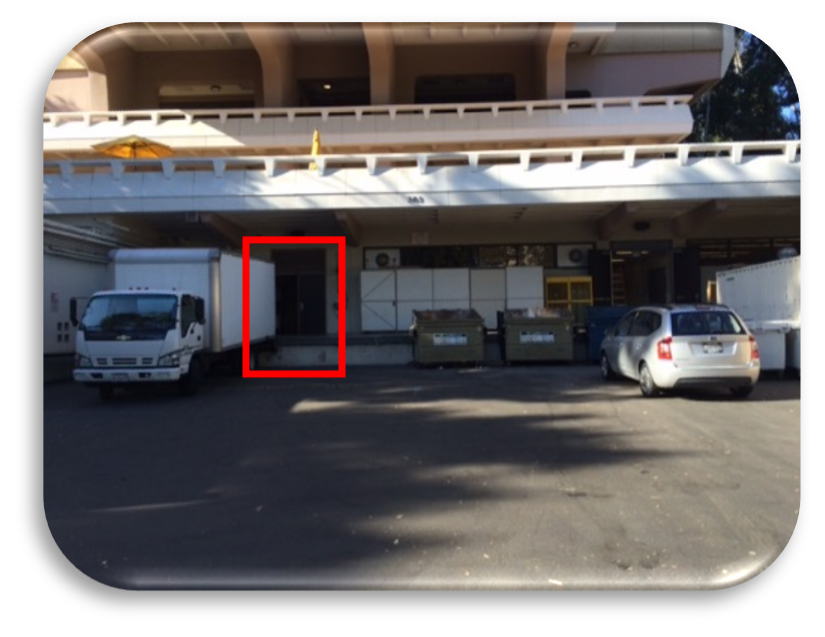
- Medical Sciences C: Loading dock - thru entrance
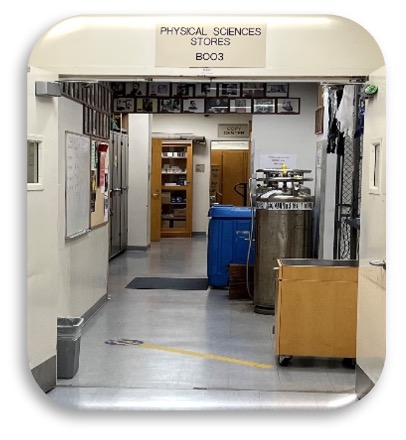
- Physical Sciences Stores: Reines Hall basement, B003
- Rowland Hall: Loading dock - Room B51
(Available only with key access to the solvent waste room)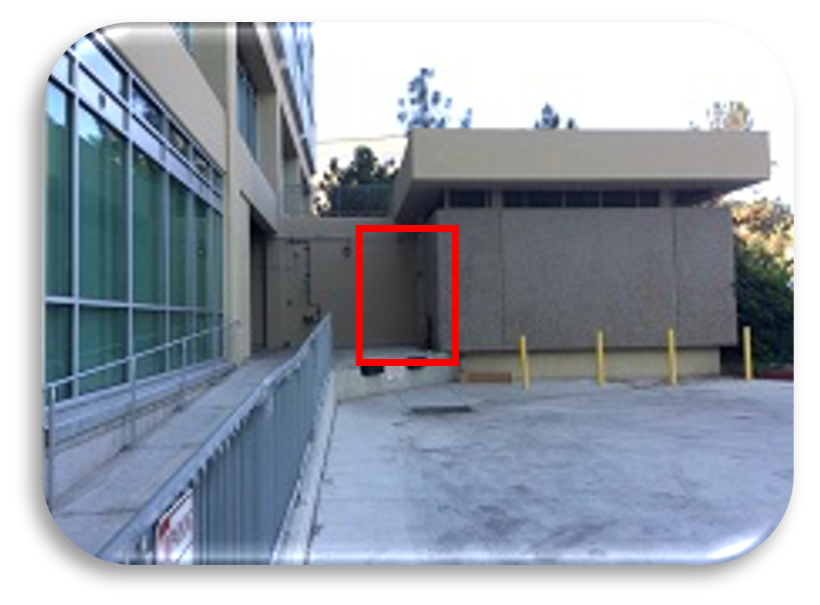
Select Inventory Summary
Click Inventory Access & Permissions
Select the pencil icon to the right for "Members"
Checkmark the members you want to be Inventory Managers
A PI or a Delegate can manage members of the lab through the Profile page. Select your Group and go to Members tab.
A PI or Inventory Manager can manage locations through the Profile page. Select your Group and go to the Locations tab for your group and select the Add button to add a buildings/rooms.
Researchers can add other laboratories as colleagues, (colleagues can search each other’s inventories). UC Chemicals also provides you with the option to search the entire campus, you will not be able to see which inventory the chemical is in, but you can send a request for the chemical through UC Chemicals.
Yes, chemical containers or sublocations can be made private which makes them unsearchable in the system. This feature must be used for controlled substances.
Yes, you can search by substructure. This feature is only available in the web browser. To access this feature, select Substructure in the search menu.